理解Redux的原理有助于我们更好的使用它。本文实现react-redux的功能。

在上一篇文章中,实现了一个简单的Redux,主要是对它的API进行了实现。本文将会实现一个简单的react-redux。
本文完整代码请查看Github:https://github.com/YanYuanFE/redux-app
// clone repo
git clone https://github.com/YanYuanFE/redux-app.git


cd redux-app

// checkout branch
git checkout part-4

// install
npm install

// start
npm start
|
使用react开发应用时,通常使用props来进行组件之间的数据传递,但是,当你的应用组件层级嵌套很深时,如果需要从根组件传递数据到最里层的组件,你可能需要向下每层都手动地传递你需要的props,这时,你需要react提供的context API。
react官方并不建议使用context API,因为context是一个实验性的API,在未来的react版本中可能会被更改。到目前为止,react 16的最新版本已经更改了context API。
尽管有官方的警告,但是仍然有需要使用到context的场景。一个比较好的做法是将context的代码隔离到一小块地方并避免直接使用cntext API,这样以后API变更的时候更容易升级。这也是react-redux的做法。
Context的用法
考虑如下代码:
const PropTypes = require('prop-types');

class Button extends React.Component {
  render() {
    return (
      <button style={{background: this.context.color}}>
        {this.props.children}
      </button>
    );
  }
}

Button.contextTypes = {
  color: PropTypes.string
};

class Message extends React.Component {
  render() {
    return (
      <div>
        {this.props.text} <Button>Delete</Button>
      </div>
    );
  }
}

class MessageList extends React.Component {
  getChildContext() {
    return {color: "purple"};
  }

  render() {
    const children = this.props.messages.map((message) =>
      <Message text={message.text} />
    );
    return <div>{children}</div>;
  }
}

MessageList.childContextTypes = {
  color: PropTypes.string
};
|
上述代码包含三个组件,顶层组件MessageList包含多个Message组件,每个Message组件中包含了Button组件。如果需要从顶层的MessageList组件中传递color属性到Button组件,需要手动将color属性通过props传递到Message,然后再从Message传递到Button组件中。上述代码使用了Context API来实现。首先需要一个context提供者,在这里是MessageList,MessageList组件需要添加getChildContext方法和childContextTypes等官方API。getChildContext方法用于返回全局的context对象,childContextTypes用于定义context属性的类型。React会向下自动传递context参数,任何组件只要在它的子组件中,就可以通过定义ContextTypes来获取context参数。
更新Context
react官方现在已经废弃了更新contetx的API,为了更新context的数据,可以使用this.setState来更新本地state,当state或者props更新时,getChildContext会自动调用。将会生成一个新的context,所有子组件都会收到更新。
考虑如下代码:
const PropTypes = require('prop-types');

class MediaQuery extends React.Component {
  constructor(props) {
    super(props);
    this.state = {type:'desktop'};
  }

  getChildContext() {
    return {type: this.state.type};
  }

  componentDidMount() {
    const checkMediaQuery = () => {
      const type = window.matchMedia("(min-width: 1025px)").matches ? 'desktop' : 'mobile';
      if (type !== this.state.type) {
        this.setState({type});
      }
    };

    window.addEventListener('resize', checkMediaQuery);
    checkMediaQuery();
  }

  render() {
    return this.props.children;
  }
}

MediaQuery.childContextTypes = {
  type: PropTypes.string
};
|
在getChildContext中,返回一个context对象,其值为this.state.type,当你需要更新context时,调用this.setState更新state,state更新后,会自动执行getChildContext返回新的context。
react-redux实现
Provider实现
在前面的文章已经介绍了react-redux的使用,react-redux的API主要包括connect和Provider。首先来看一下Provider的实现。
回顾Provider的用法。
import { Provider } from 'react-redux';

ReactDOM.render(
  <Provider store={store}>
    <App/>
  </Provider>,
  document.getElementById('root')
);
|
从上述代码可以看到,Provider是一个组件,包裹在应用的根组件,接收一个store的props,在react-redux中,Provider组件提供context。
接上一篇文章的项目,在src目录下新建react-redux.js,首先声明Provider组件。
import React from 'react';
import PropTypes from 'prop-types';

export class Provider extends React.Component {

}
|
Provider组件没有自己的UI渲染逻辑,只负责处理context部分逻辑。
export class Provider extends React.Component {
  static childContextType = {
    store: PropTypes.object
  }
  constructor(props, context) {
    super(props, context)

    this.store = props.store

  }
  render() {

    return this.props.children

  }
}
|
这一步,在静态方法childContextTypes中定义context属性store的类型为object,在constructor构造函数中,传入props和context,定义this.store并赋值为props.store。这样,在Provider中任何地方都可以使用this.store获取到props中的store属性。
由于Provider不负责UI渲染,在render方法中,直接返回this.props.children即可,即返回子组件。
最后在Provider中,还需要添加getChildContext方法,用于提供context。
export class Provider extends React.Component {
  static childContextTypes = {
    store: PropTypes.object
  }
  getChildContext() {
    return {store: this.store}
  }
  constructor(props, context) {
    super(props, context)
    this.store = props.store
  }
  render() {
    return this.props.children
  }
}
|
在getChildContext中,生成context对象,此处的context就是this.store,让子组件能够获取到context。
connect实现
在react-redux中,connect负责连接组件,接受一个组件作为参数,将store中的属性传入到组件的props中,并且返回一个新的组件,这种组件设计模式称为高阶组件。当数据变化时,connect将会通知组件更新。
回顾connect的使用。
const mapStateToProps = (state, ownProps) => ({
  active: ownProps.filter === state.visibilityFilter
})

const mapDispatchToProps = (dispatch, ownProps) => ({
  onClick: () => {
    dispatch(setVisibilityFilter(ownProps.filter))
  }
})

const FilterLink = connect(
  mapStateToProps,
  mapDispatchToProps
)(Link)
|
connect首先定义为一个高阶函数,
在react-redux.js中,首先定义connect方法:
export const connect = (mapStateToProps = state => state, mapDispatchToProps={}) => (WrapComponent) => {
    return class ConectComponent extends React.Component {
    }
}
|
connect是一个两层的箭头函数,第一层,传入mapStateToProps和mapDispatchToProps参数,这两个参数是可选参数,需要定义初始值,mapStateToProps定义为函数,mapDispatchToProps有多种参数形式,可以是函数或者对象,这里默认设为空对象。connect方法最终应该返回一个组件,在第二层函数中,传入一个组件作为参数,并返回一个新的组件。上述代码可以改写为如下:
export function connect(mapStateToProps, mapDispatchToProps) {
  return function (wrapComponent) {
    return class ConnectComponent extends React.Component {

    }
  }
}
|
这样看起来就很清晰了,connect首先执行最外层返回一个函数,然后传入一个组件,执行最里层,返回一个组件。
在返回的组件内部,需要获取context,代码如下:
static contextTypes = {
  store: PropTypes.object
}
|
然后是constructor的实现:
constructor(props, context) {
  super(props, context);
  this.state = {
    props: {}
  }
}
|
在constructor中,定义了一个props属性作为state,初始化为空对象。props将传递到wrapComponent上。
在render函数中:
render() {
  return <WrapComponent {...this.state.props}/>
}
|
在render函数中,将state.props解构传递到WrapComponent的props属性中。当然,state.props并没有如此简单,还需要将mapStateToProps和mapDiapatchToProps的数据注入进去。
在componentDidMount中,代码如下:
componentDidMount() {
  const { store } = this.context;
  store.subscribe(() => this.update());
  this.update();
}
|
在上述代码中,首先获取到context中的store,然后调用update方法来更新state。同样,在store.subscribe中传入store更新后的方法,当store更新后需要调用update方法。update方法如下:
update() {
  const { store } = this.context;
  const stateProps = mapStateToProps(store.getState());

  this.setState({
    props: {
      ...this.state.props,
      ...stateProps,
    }
  })
}
|
在update方法中,首先从context中获取到store,考虑需要connect的数据分为两部分,第一部分是将state中的数据映射到props中,调用connect的第一个参数mapStateToProps传入store.getState(),即传入全局的state。然后得到stateProps对象用于传入props中。然后通过this.setState来更新state,这里通过对象延展语法来对对象进行解构合并新旧state。
上面只实现了state数据的映射,还需要方法的映射,数据的映射较为简单,而方法不能直接使用,因为需要对方法调用store.dispatch。这里需要在redux中实现一个bindActionCreators方法,按如下方式调用:
import { bindActionCreators } from './redux';


const dispatchProps = bindActionCreators(mapDispatchToProps, store.dispatch);
|
bindActionCreators用于将store.dispatch传递到函数内部,调用函数时能够在内部dispatch该函数。
在src目录下的redux.js下,实现bindActionCreators方法:
export function bindActionCreators(creators, dispatch) {
  let bound = {};
  Object.keys(creators).forEach(v => {
    let creator = creators[v];
    bound[v] = bindActionCreator(creator, dispatch);
  })
  return bound;
}
|
在bindActionCreators方法中,传入connect的第二个参数mapDispatchToProps定义为creators,creators是一个对象,在这里需要对creators中的每一个方法使用dispatch进行一次包装,使用Object.keys返回对象可枚举属性组成的数组,然后循环数组,根据数组索引,依次取数组索引对应的方法,然后调用bindActionCreator返回一个由dispatch包装的新的方法,并且组装为一个新的对象bound返回,key保持不变。
下面实现bindActionCreator:
function bindActionCreator(creator, dispatch) {
  return (...args) => dispatch(creator(...args))
}
|
在bindActionCreator方法中,使用高阶函数返回了一个新的函数,原函数creator经dispatch包装后,使用剩余参数…args透传到被包装函数内。这样是为了保证参数能够传递到最内层。
到这里,已经实现了connect的两个部分的数据,下面是完整的update方法:
update() {
  const { store } = this.context;
  const stateProps = mapStateToProps(store.getState());

  const dispatchProps = bindActionCreators(mapDispatchToProps, store.dispatch);

  this.setState({
    props: {
      ...this.state.props,
      ...stateProps,
      ...dispatchProps,
    }
  })
}
|
最终的update方法中,将stateProps和dispatchProps都更新到state.props中,这样,每次数据更新都能通知到子组件进行同步更新。
现在,react-redux的基本功能已经实现了,下面是完整的react-redux代码:
import React from 'react';
import PropTypes from 'prop-types';
import { bindActionCreators } from './redux';

export const connect = (mapStateToProps = state => state, mapDispatchToProps={}) => (WrapComponent) => {
  return class ConectComponent extends React.Component {
    static contextTypes = {
      store: PropTypes.object
    }

    constructor(props, context) {
      super(props, context);
      this.state = {
        props: {}
      }
    }
    componentDidMount() {
      const { store } = this.context;
      store.subscribe(() => this.update());
      this.update();
    }
    update() {
      const { store } = this.context;

      const stateProps = mapStateToProps(store.getState());

      const dispatchProps = bindActionCreators(mapDispatchToProps, store.dispatch);

      this.setState({
        props: {
          ...this.state.props,
          ...stateProps,
          ...dispatchProps,
        }
      })
    }
    render() {
      return <WrapComponent {...this.state.props}/>
    }
  }
}

export class Provider extends React.Component {
  static childContextTypes = {
    store: PropTypes.object
  }
  getChildContext() {
    return {store: this.store}
  }
  constructor(props, context) {
    super(props, context);
    this.store = props.store;
  }
  render() {
    return this.props.children
  }
}
|
使用react-redux来改写计数器应用
在之前的文章中,使用自己编写的redux实现了一个简单的计数器应用,现在将它改写为react-redux实现:
App.js如下:
import React, { Component } from 'react';
import { connect } from './react-redux';
import Counter from './components/Counter';
import logo from './logo.svg';
import './App.css';

class App extends Component {
  render() {
    const { onIncrement, onDecrement, counter } = this.props;

    return (
      <div className="App">
        <header className="App-header">
          <img src={logo} className="App-logo" alt="logo" />
          <h1 className="App-title">Welcome to React</h1>
        </header>
        <p className="App-intro">
          To get started, edit <code>src/App.js</code> and save to reload.
        </p>
        <Counter
          value={counter}
          onIncrement={onIncrement}
          onDecrement={onDecrement}
        />
      </div>
    );
  }
}

const mapStateToProps = (state) => ({
  counter: state
});

function onIncrement() {
  return { type: 'INCREMENT' }
}

function onDecrement() {
  return { type: 'DECREMENT' }
}

const mapDispatchToProps = {
  onIncrement,
  onDecrement
};

export default connect(mapStateToProps, mapDispatchToProps)(App);
|
注意,由于在react-redux中connect中对mapDispatchToProps的处理仅考虑了其值为对象的情况,而实际可以支持对象或者函数作为参数,故在这里需要设置为对象的形式。
index.js代码如下:
import React from 'react';
import ReactDOM from 'react-dom';
import { Provider } from './react-redux';
import './index.css';
import App from './App';
import { createStore } from './redux';
import counter from './reducers';

const store = createStore(counter);

ReactDOM.render(
  <Provider store={store}>
    <App/>
  </Provider>,
  document.getElementById('root')
);
|
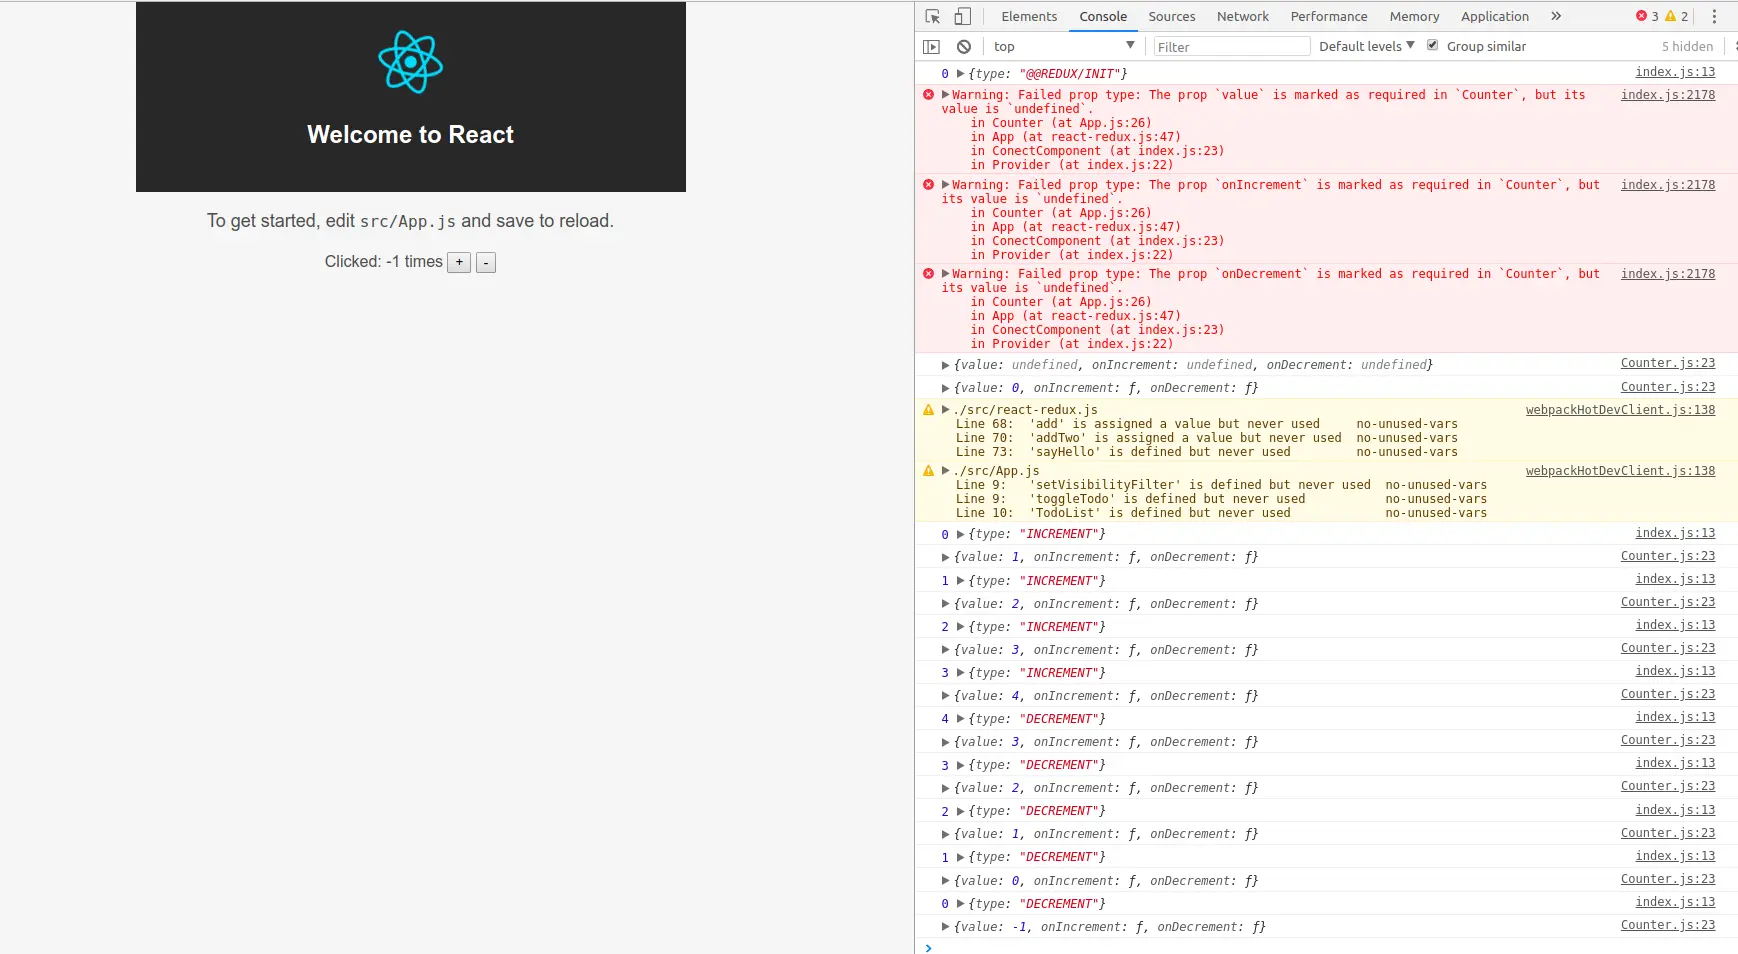
最后,npm start运行项目,打开浏览器界面如下,对其进行操作,符合预期效果: